Modifying a picklist
You may define up to 19 custom drop-down fields for inclusion in capital project plan files.
There are three standard Picklists: Class, Reason, and Priority. There are an additional sixteen Picklists that your organization can add. If a picklist is to be managed by Finance for reporting purposes only, consider using a utility to update a user-defined column. A Syntellis consultant can help set up this tool.
To modify a picklist:
-
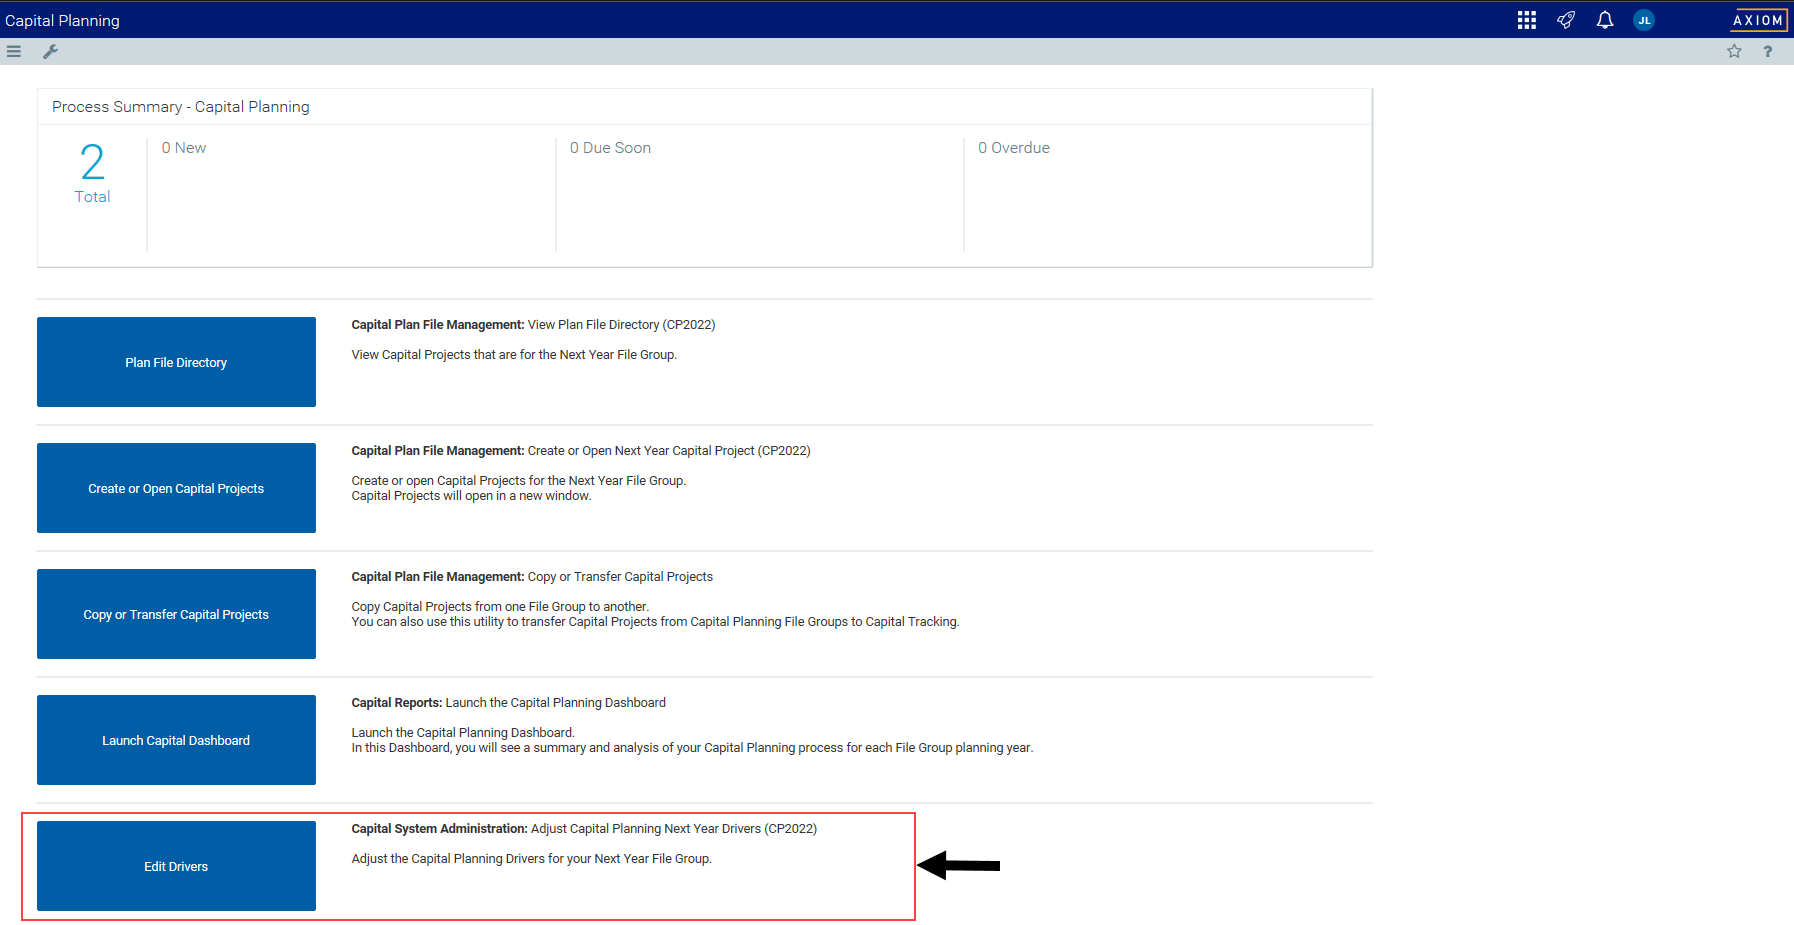
From the Axiom Capital Planning home page, click Edit Drivers.
NOTE: To access this location from the Cap Planning Admin task pane, in the Administration section, click Capital Planning Drivers, and double-click Capital Planning Drivers.

Click image to view full size
- From the Configuration tab, click Picklists.
-
To view a specific picklist, in the View drop-down, select the picklist field to display.

-
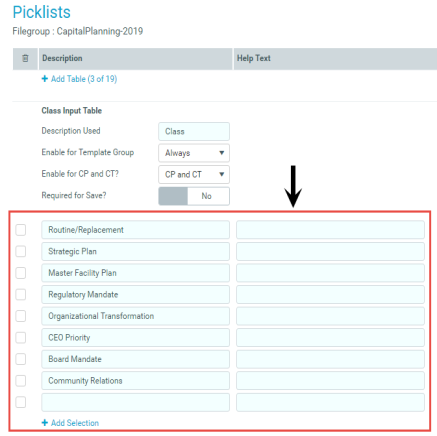
For each picklist, complete the following:
Option Description Description Used Type a label for the picklist field to display within the plan files. Enable for Template Group Select in which template groups to enable the picklist. Enable for CP and CT? Select to enable the picklist for Axiom Capital Planning only, Axiom Capital Tracking only, or for both. Required for Save? Do one of the following:
- To require users to make a selection before they can save the plan file, click the toggle to Yes.
- To allow users to save the plan file without a picklist selection, click the toggle to No.
- In the list of picklist of options, do the following:
- For existing picklist field options, modify the verbiage in the Description and/or Help Text columns.
- To add a picklist option, click + Add Selection.
- In the Description column, type a label for the picklist option.
In the Help Text column, type additional information for the user.
- To delete a picklist option, click the check box to the left of the Description column. The option will be deleted after you click Save.
- After making your changes, in the upper right corner of the page, click the disk
 icon to save your changes.
 - At the confirmation prompt, click OK.
If you are making changes to this driver, make sure to process the plan files to propagate your changes.
